3D printing with the AnyCubic Photon Mono for prototyping: part 1
Some months back I asked other HAX alumni what their recommendations would be for a 3D printer. When based out of Shenzhen, we would send our models out for prototyping to a local 3D printing service that had a high quality resin based printer and the models used to come back almost useable. I didn't want to invest too much into this process - I am not a product designer and barely know my way around CAD software, but I do know what I want out of the next version of the product and figured an affordable 3D printer will help me get pretty close before I pass the new CAD model off to somebody who really knows what they are doing. The most common recommendation that came back was for the AnyCubic Photon Mono.
Then, of course, SmartShepherd hit the busiest period of the year and I set that job aside for when things got quieter. Thankfully that also coincided with a sale from AnyCubic, so I pulled the trigger on a kit including an AnyCubic Photon Mono, a wash and dry station and 2kg of resin.
It all arrived very quickly - the next day which is remarkable for a delivery that had to come to rural NSW. I thought I might have more time to transition from "busy doing SmartShepherd" to "busy working on SmartShepherd" but the AnyCubic people had different ideas.
Busy doing SmartShepherd
I like to "eat my own dog food" regularly, in that I have regular, local customers of SmartShepherd who I service directly. Most customers in Australia go through SheepMatters network of service providers, but with Covid lockdowns that has given me little opportunity to be out in the field. My local customers are, thankfully, awesome at being patient so I tend to use them for experiments: new software, changes to procedures, changes to the collar hardware. Anything I want to use for 2022 I have trialled here. This year that included a new RFID scanning handheld which proved extremely fast. Not all the experiments go well, but the product is now mature enough that we tend to chase productivity enhancements rather than new features.
One thing that has started to become an issue is that the collars themselves are getting tired. They were originally designed (and priced) for a retail sales model that we pivoted away from in 2018. Building things down to a price has some serious disadvantes when the collars are being used 20x more than originally anticipated. The battery holders snap/fail, the users don't always snug down the top part of the casing enough for the collar to be waterproof. The collars are over-sensitive to poor batteries which means we tend to stick with a brand we know (Panasonic if you're wondering) that have turned out to have a consistent quality, so it's easier to predict when a set of collars will need their batteries changed.
In other words, the use of the product has diverged somewhat from the actual use, so it's time to re-design it with that in mind. We have spent a lot of time successfully refurbishing collars but that won't be sustainable as we expand further.
Enter the AnyCubic Photon Mono
With access to our new workshop, comes the ability to have more tools at our disposal. We have a dedicated room for server equipment and the AnyCubic is installed in there

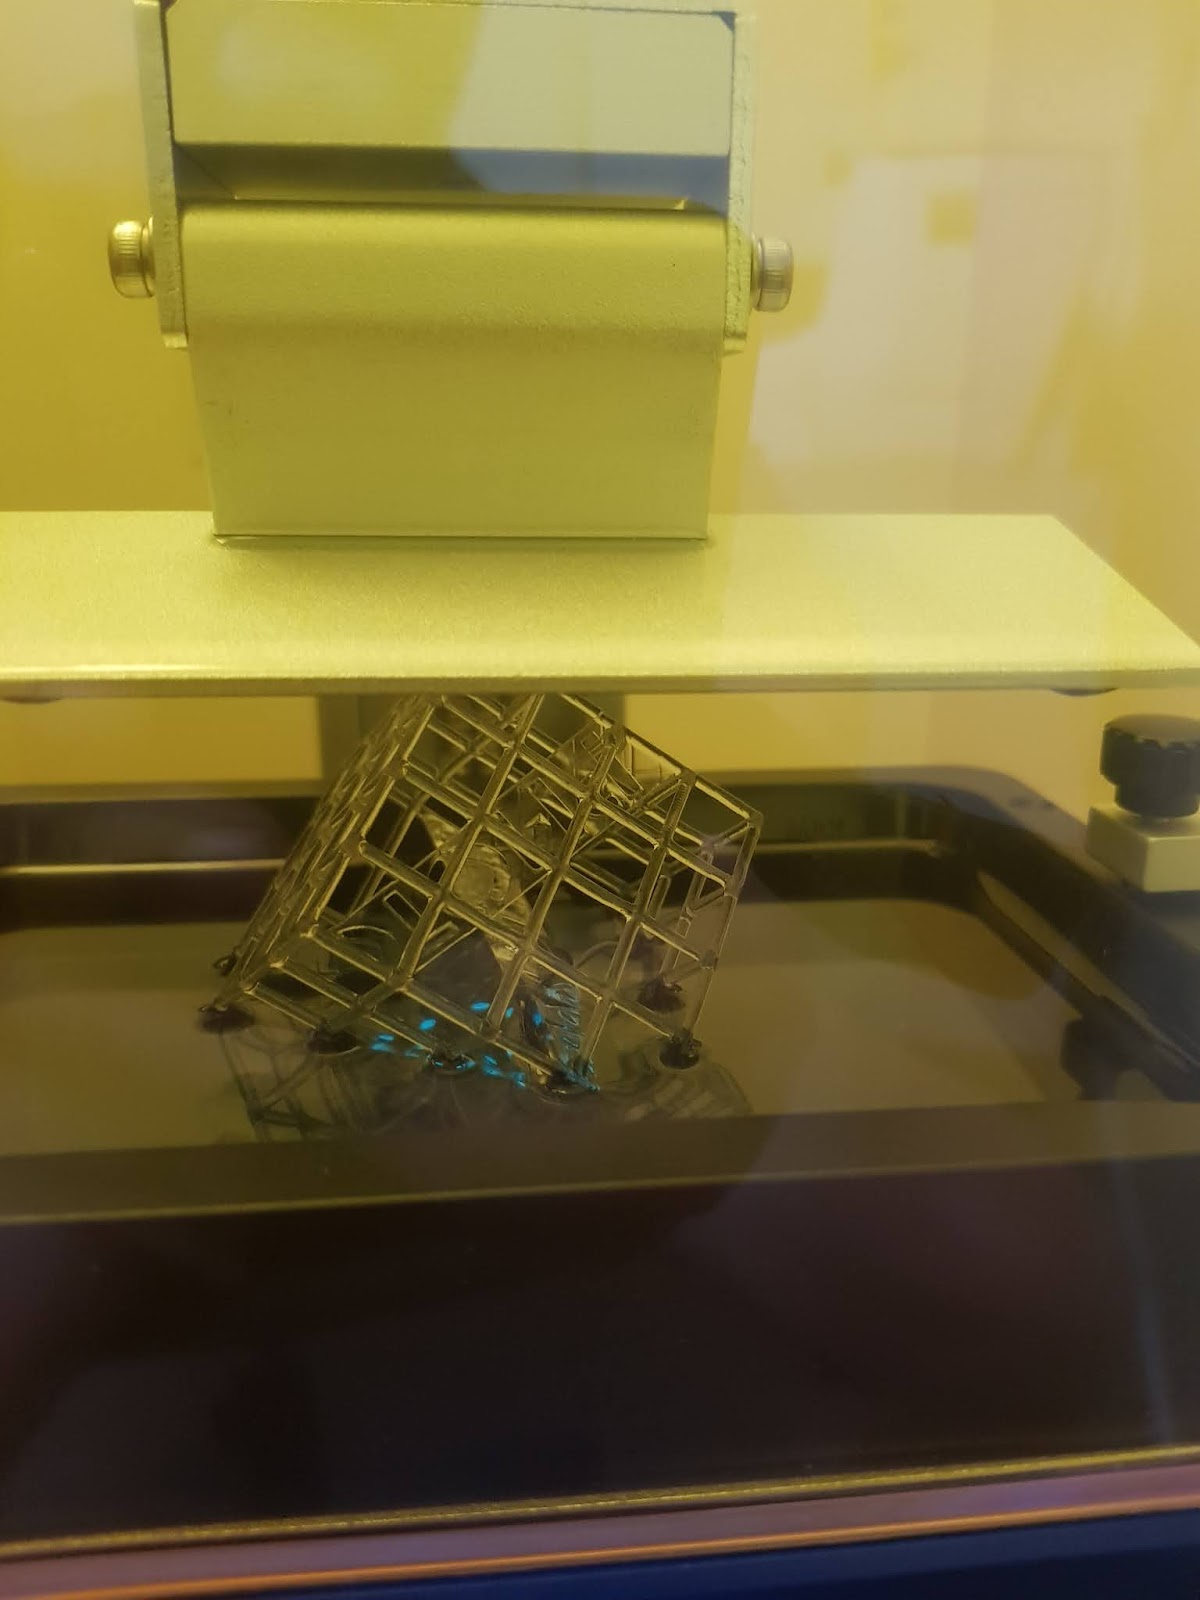
Pulling everything out of the boxes it looked like a complicated thing that would take forever to set up. There are scary looking gloves, a face mask, a printed setup guide and some tools. The 3D printer itself didn't look right to me, I expected it to have a print head mounted somewhere on the screw based lift mechanism but I had never really looked at a resin based 3D printer before, so didn't realise it was going to print things upside down (well duh!).
It turned out setup was trivial. Follow the instructions to zero the lift mechanism, put the resin container on the platform, fill it up, poke the USB stick with the same model on it into the USB socket. Start printing.
The anti-climax
Yikes, it's slow. There are 1400+ layers in the sample and it takes about an hour to do 20mm. It's also not as fascinating to watch as the filament based printers, because the build plate hides the model until it starts getting bigger. This is not a sport for the impatient like me.

I guess that will give me plenty of time to work out how to use FreeCAD to design a new housing. Hopefully in part 2 I will have something to put in the wash and cure machine.
Look at that awesome desk
I am a sucker for green vinyl topped desks, this one still has the CSIRO asset number on it which is a little piece of history that I love to have hanging around. It's also an incredibly solid, well made piece of furniture from back before garbage made out of MDF and chipboard became acceptable. Likely it will outlive me.
Edit: look at it!